
The PiShrink tool software allows you to reduce the size of the Raspberry Pi OS image file that you have backed up in its entirety beforehand. The reason why it is necessary to reduce the size of the image file is because the file size will inevitably become huge, making it difficult to save and handle.
The backup image file for the Raspberry Pi Compute Module 4 that we have prepared is about 30 GB. Multiple backup files require even more storage space. Even if the files are stored in a different location, it will take a considerable amount of time to move or copy the files. If the file size can be reduced, storing multiple files becomes feasible.
The backed up OS image file can be saved as a single file, and the entire partition configuration, including installed software and settings, can be written back to the original file.
Industrial Raspberry Pi installs the OS on eMMC. (General Raspberry Pi is microSD card.) You can also backup the whole system using dd command or “Win32 Disk Manager” if you are in Windows environment.
Other benefits include.
If the OS image file is reduced in size, the write time is shorter because of the smaller file size when it is written. This is useful for distributing customized OS image files in addition to reverting backups.
Benefits of downsizing:
– Reduced storage space
– Lightweight for OS image file distribution
– Reduced write time
Image files shrunk using PiShrink work by reducing the size of the partitions (compartments) and automatically expanding them upon first boot. The contents of the OS remain unchanged and no data already present is lost.
PiShrink’s processing time is also fast, so you should consider the benefits and reduce the size after backup.
PiShrink is Linux-native software
PiShrink is a tool software for use on Linux. However, it is not necessary to have a separate Linux PC from your Windows PC. The current Windows OS has WSL2.
WSL = Windows Subsystem for Linux
With WSL2, even Linux beginners need not worry, as the work can be completed on Windows. The work itself can be performed by simply copying and pasting commands.
If you have never used WSL2 before, please follow the steps in this article in order.
Benefits of WSL2:
- No need to prepare virtual machines
- Runs at high speed
- Easy file sharing
- Standard features of Windows 11
Another advantage is that it can be used without the need to be aware of building a virtual machine such as VirtualBox.
Process Flow and Preparation
First, get the Ubuntu environment with WSL2 on the Windows side. Then install PiShrink on the WSL2 (Ubuntu) side and shrink the backed up image file.
Roughly speaking, this is a 3-step process.
- Install WSL2 (Ubuntu) with PowerShell
- Installing PiShrink
- Perform shrinkage with PiShrink
It is assumed that there is a backed up OS image file on the Windows side.
The image file prepared this time is placed in the Downloads folder and worked on.
Example: backup-cm4-bookworm-202503.img (about 30 GB)
Step 1: Installation of Linux environment with WSL2
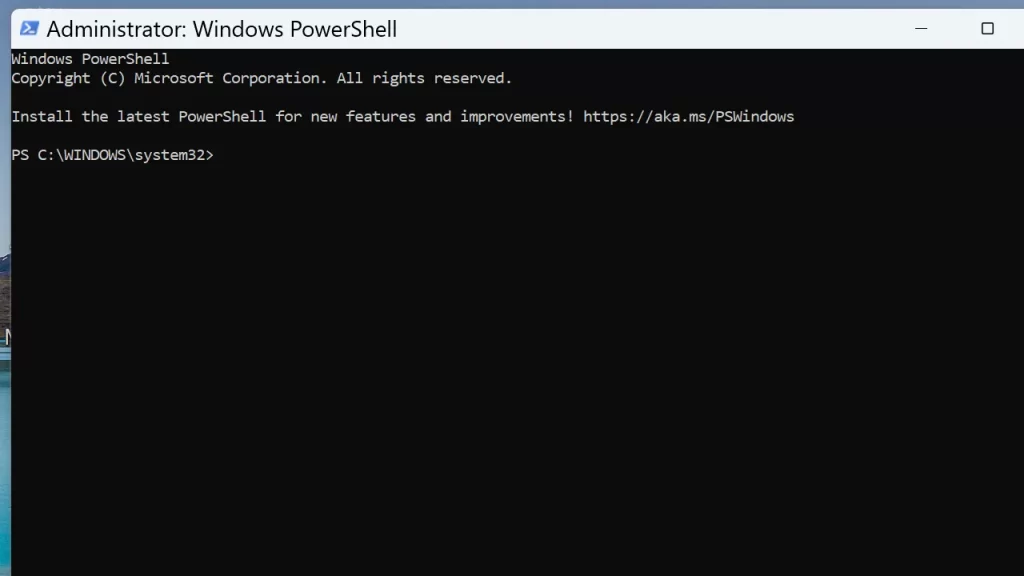
Work with PowerShell; PowerShell must be started with administrator privileges. You can start it from the Start menu.
Start the installation with the following command
wsl --installSet any user name and password at Create a default Unix user accountas follows. The password will not be displayed, but you will have to type it twice.
PS C:\WINDOWS\system32> wsl --install
Downloading: Ubuntu
Installing: Ubuntu
The distribution has been successfully installed. Use 'wsl.exe -d Ubuntu' to start it.
Launching Ubuntu...
Provisioning the new WSL instance Ubuntu
This might take a while...
Create a default Unix user account: win11-en
New password:
Retype new password:
passwd: password updated successfully
To run a command as administrator (user "root"), use "sudo <command>".
See "man sudo_root" for details.
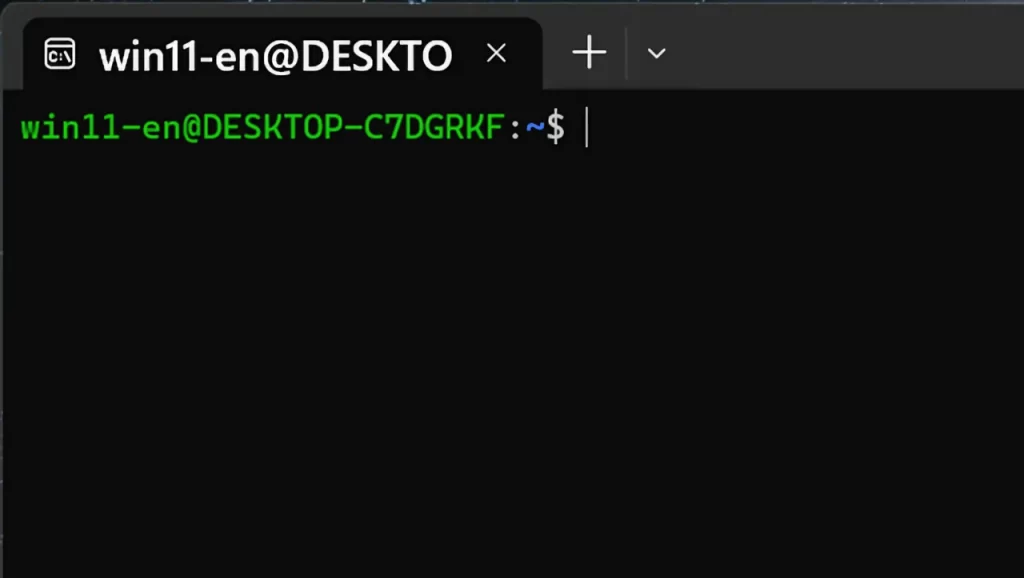
When the WSL2 (Ubuntu) installation is complete, the prompt name will change.
<username>@<windows-machine-name>:~$Restart Windows here just to be sure.
After rebooting, select Ubuntu (or WSL) from the Start menu.
The following screen will guide you through the process. (similar to PowerShell, but it is a WSL screen)
Step 2: Install PiShrink
Working with WSL2 (Ubuntu) is just a matter of executing the same commands.
Before installing PiShrink, go to the current directory (cd), the update command, and the PiShrink install command.
cd
sudo apt update
wget https://raw.githubusercontent.com/Drewsif/PiShrink/master/pishrink.sh
‘pishrink.sh’ saved [12034/12034]is displayed, you are done.
grant execution rights
Finally, the execution rights are given to PiShrink.
sudo chmod +x pishrink.shNow you are ready to go.
Step 3: Shrink image files with PiShrink
From here we move on to image file reduction.
PiShrink was saved to the current directory with the cd command, so the following command is used to execute it.
<Replace <Windows user name> and <image file name>.img respectively.
sudo ~/pishrink.sh /mnt/c/Users/<WindowsUsername>/Downloads/<ImageFileName>.imgThe Downloads folder on Windows is represented by the following: The full path (absolute path) should be specified for all folders except the Downloads folder as well.
/mnt/c/Users/<WindowsUsername>/DownloadsAfter a while, the text will flow to the WSL2 (Ubuntu) screen while XXXXappears as a progress bar.
Finally, the program ends with an indication of what happened to the file size.
The specified image file is replaced by a reduced image file.
(......)
rootfs: ***** FILE SYSTEM WAS MODIFIED *****
rootfs: 190466/1846656 files (0.2% non-contiguous), 1873575/7501824 blocks
resize2fs 1.47.0 (5-Feb-2023)
pishrink.sh: Shrinking filesystem
resize2fs 1.47.0 (5-Feb-2023)
Resizing the filesystem on /dev/loop0 to 2062762 (4k) blocks.
Begin pass 2 (max = 87581)
Relocating blocks             XXXXXXXXXXXXXXXXXXXXXXXXXXXXXXXXXXXXXXXX
Begin pass 3 (max = 229)
Scanning inode table          XXXXXXXXXXXXXXXXXXXXXXXXXXXXXXXXXXXXXXXX
Begin pass 4 (max = 17486)
Updating inode references     XXXXXXXXXXXXXXXXXXXXXXXXXXXXXXXXXXXXXXXX
The filesystem on /dev/loop0 is now 2062762 (4k) blocks long.

pishrink.sh: Zeroing any free space left
pishrink.sh: Zeroed 1.1G
pishrink.sh: Shrinking partition
pishrink.sh: Truncating image
pishrink.sh: Shrunk /mnt/c/Users/win11-en/Downloads/backup-cm4-bookworm-202503.img from 30G to 8.4G
As you can see in the last line, the file size has been reduced considerably from 30 GB to 8.4 GB.
This reduces the pressure on storage space and makes it easier to store multiple backups.
Then use it to save the reduced file image elsewhere or write it to a microSD card.
WSL is relatively easy
For Windows, I was able to use PiShrink using WSL. PiShrink is available for both macOS and Linux.
For macOS, it is via docker, and for Linux, it is a tool app for Linux to begin with, so it can be run without changing anything in the environment.
Windows users have the impression that the threshold is lower than macOS because they can get a Linux environment with WSL.
If you have a separate Linux environment, that would be fine, but WSL works just as well, so you can run this level of tool software without any problems.
This time it was from the installation process, so three steps were required to execute it.
From the second time, you can start WSL and execute a single PiShrink command to immediately reduce the image file.
It is recommended because it eliminates the need for a separate Linux PC, and unlike OS virtualization software, Linux applications run natively in a Windows environment.

Article contributed by Raspida
Raspberry Pi information site that even non-engineers can enjoy using raspida.com a Raspberry Pi information site that even non-engineers can enjoy and handle. He also contributes technical blog articles to the PiLink site on the Raspberry Pi for industrial use.